What It Does
Anchor Point Gravity adjusts where your layer’s anchor point sits, with special controls for working in 3D space. You can move the anchor point to a specific depth position, shift the layer itself without changing where the anchor point appears, or add a gravity parent with rotation control for child layers.
Key Features
Anchor Point Mode. Moves the anchor point to a specified position or depth in 3D space. Useful when you need precise anchor point placement for rotation or scaling effects.
Position Mode. Shifts the layer’s position without changing where the anchor point displays. The anchor point stays visually in place while the layer moves underneath it.
Depth Controls. Both modes include depth options for working with 3D layers. You can position elements along the z-axis while maintaining control over the anchor point.
Gravity Mode. Adds a null object as a parent to the selected layer. Includes an optional expression-driven rotation toggle that determines whether child layers rotate when the parent rotates.
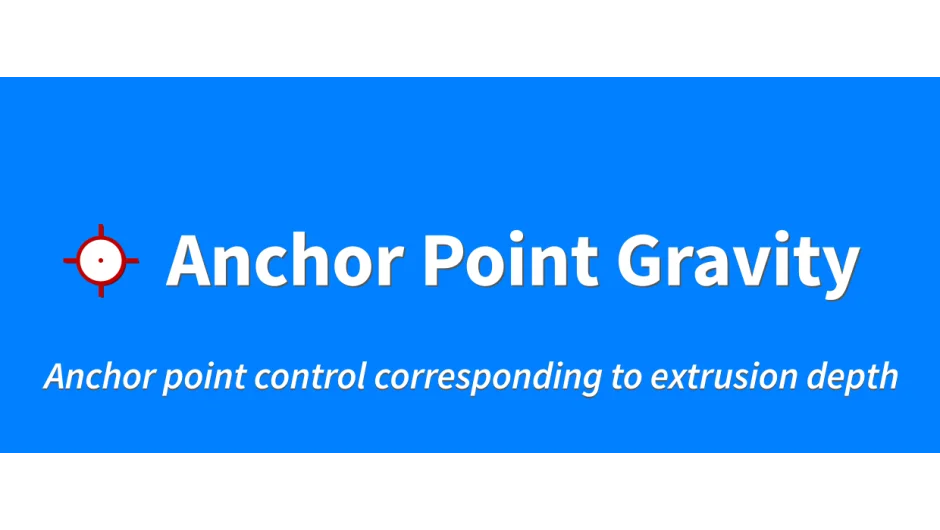
Extrusion Depth. Accounts for a layer’s extrusion depth when calculating positions, relevant for extruded 3D layers.
Extents. Acquires the boundary rectangle of the layer and corrects the content accordingly. Helps with accurate positioning when layer content doesn’t match the layer dimensions.
Who It’s For
Motion designers working with 3D layers who need more control over anchor point placement than After Effects provides by default. The gravity parenting system is useful for creating hierarchies where rotation behavior needs expression-based control.
Pricing
Pay what you want. The developer uses a name-your-own-price model, so you choose the amount when purchasing.